huang696@126.com
0512-57279201

Email format error
Email cannot be empty
Email already exists
6-20 characters(letters plus numbers only)
The password is inconsistent
Email format error
Email cannot be empty
Email does not exist
6-20 characters(letters plus numbers only)
The password is inconsistent

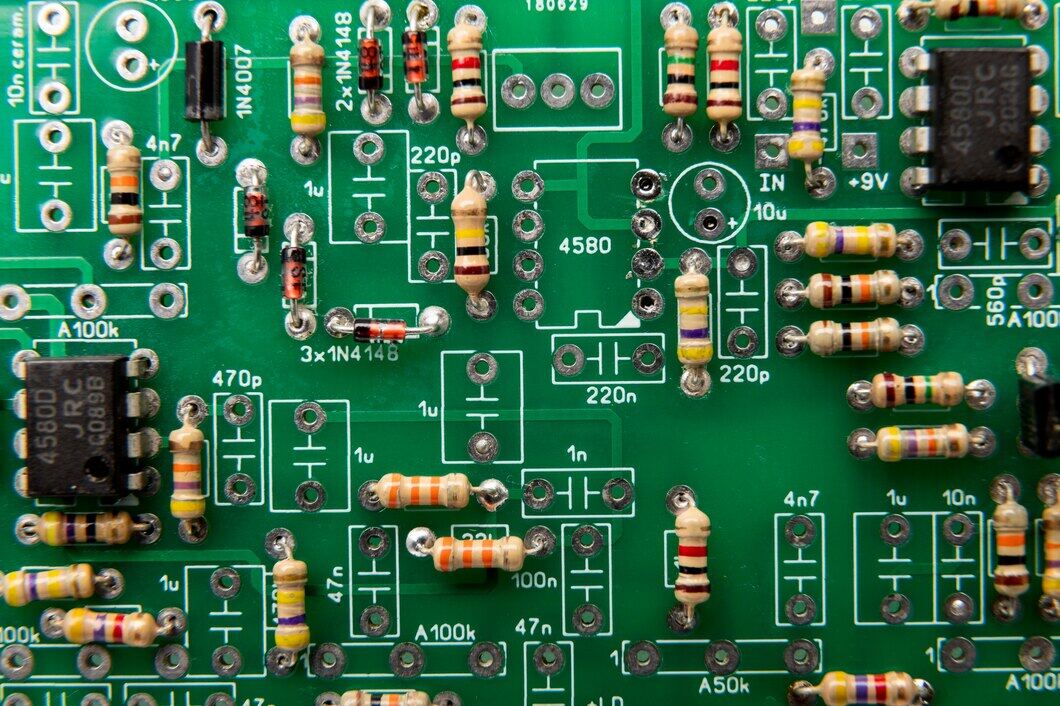
Soldering printed circuit boards (PCBs) is a critical process in electronics manufacturing. Proper soldering techniques ensure reliable connections and optimal functionality of electronic devices. In this comprehensive blog post, we will provide a step-by-step guide on how to solder printed circuit boards, focusing on achieving high-quality solder joints. We will also explore the role of the MPM paste printer in the soldering process.
Before starting the soldering process, set up a clean and well-organized workstation. Ensure you have all the necessary tools and equipment, including a soldering iron, solder wire, flux, desoldering tools, and safety gear such as goggles and heat-resistant gloves. Keep the work area well-ventilated to avoid inhaling harmful fumes.
Thoroughly inspect the PCB for any defects, such as damaged traces or components. Clean the PCB surface using isopropyl alcohol or a specialized PCB cleaner to remove any contaminants that may hinder proper soldering. Ensure the PCB is dry before proceeding.
Carefully place the components on the PCB according to the assembly instructions or the designated layout. Ensure proper alignment and orientation of the components. Utilize the MPM paste printer to accurately deposit solder paste onto the PCB pads. The MPM paste printer ensures precise and consistent solder paste application, enhancing the quality of the solder joints.
a. Soldering Iron Temperature: Set the soldering iron to the appropriate temperature for the solder and components being used. A temperature-controlled soldering iron helps prevent overheating and damage to the PCB or components.
b. Flux Application: Apply a small amount of flux to the solder joints. Flux helps remove oxidation and promotes better solder flow, resulting in stronger and more reliable connections.
c. Solder Wire Application: Heat the solder joint with the soldering iron and apply the solder wire to the joint. Allow the solder to flow evenly and create a smooth, shiny fillet around the joint. Avoid excessive solder, as it can lead to solder bridges or poor connections.
d. Solder Joint Inspection: After soldering each joint, visually inspect the solder joint for proper wetting, fillet formation, and absence of solder bridges or cold joints. Use a magnifying glass or microscope for detailed inspection.
In case of soldering errors or faulty connections, desoldering may be necessary. Use desoldering tools, such as a desoldering pump or desoldering braid, to remove excess solder or correct soldering mistakes. Clean the area thoroughly before re-soldering.
Implement a robust quality control process to ensure the reliability of the soldered PCBs. Conduct visual inspections, electrical tests, or automated optical inspections (AOI) to detect any soldering defects or inconsistencies. Address any issues promptly to maintain high-quality standards.
Soldering proficiency comes with practice. Continuously refine your soldering skills by working on various PCBs and components. Stay updated with industry advancements and techniques to improve your soldering capabilities.
Soldering printed circuit boards requires precision, attention to detail, and proper technique. By following this comprehensive guide and utilizing tools like the MPM paste printer, you can achieve high-quality solder joints that ensure the reliability and functionality of electronic devices. Remember to prioritize safety, practice regularly, and embrace continuous improvement to become a skilled soldering professional.
